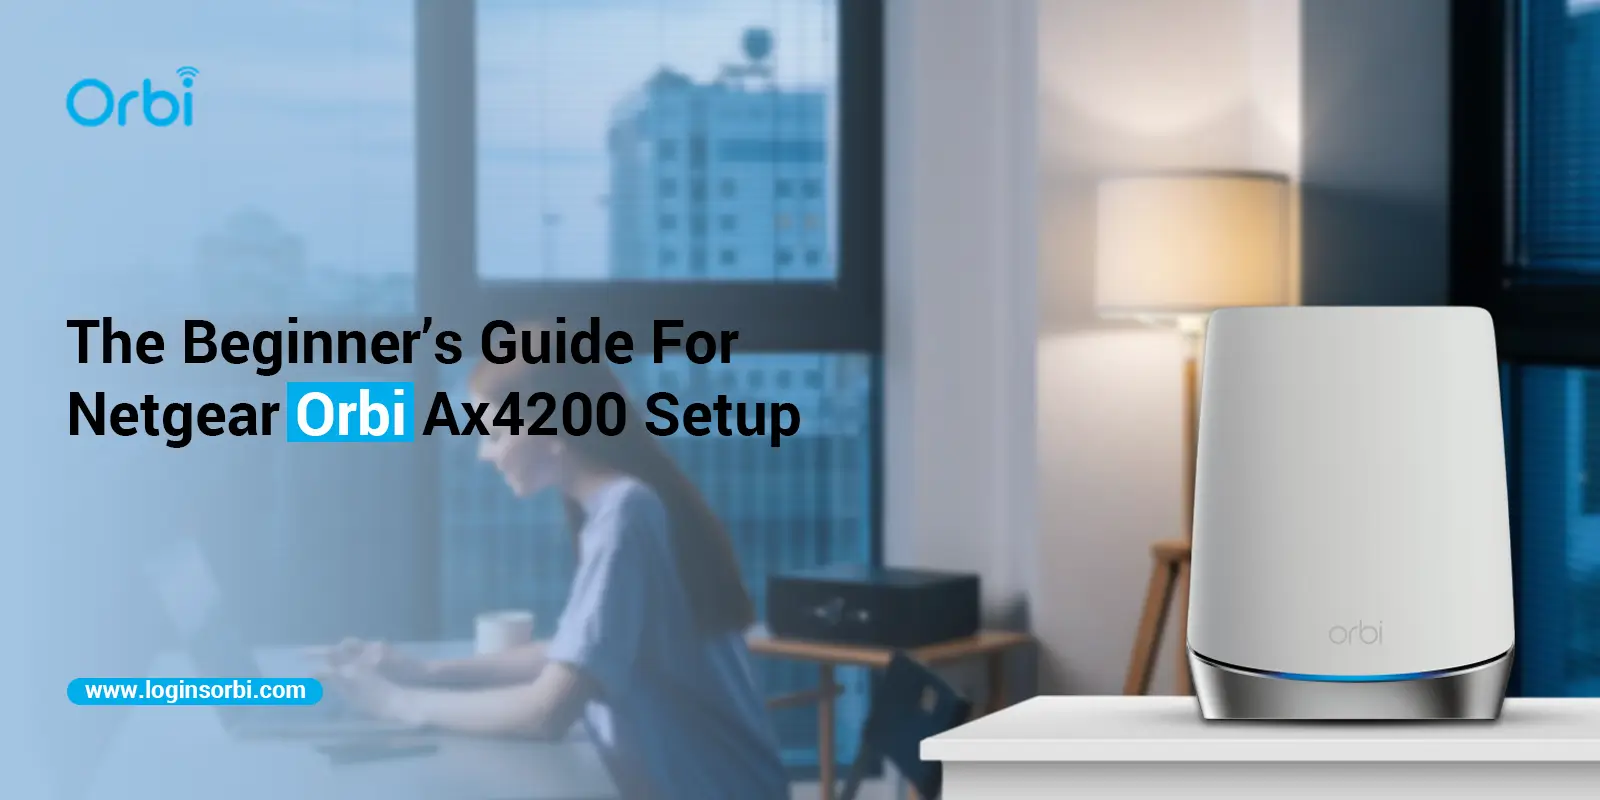
Generally, the Netgear orbi ax4200 is an advanced networking device that offers you reliable network coverage and blazing-fast speeds. In addition, to use this data communication gateway to its full potential, you need to perform the Netgear Orbi ax4200 setup first. You can use it as a wireless network web or use multiple ports to connect the ethernet cables.
In addition to this, you can explore the detailed steps for executing the Netgear orbi wifi 6 mesh ax4200 setup here on this page. We share two methods to configure your Orbi mesh system effortlessly. So, to explore more, stay tuned to this page!
What are the quick steps for the Netgear Orbi Ax4200 setup?
Furthermore, before you go ahead with the setup process, ensure to have an active internet connection, valid admin details, smartphone/computer, etc. To begin with the configuration of the Netgear Orbi Ax4200, ensure that your master router is linked to the modem. After that, follow the below-mentioned steps to complete the setup process:
Orbi setup using the app
- Firstly, confirm that you use an updated version of the Orbi application on your smartphone.
- Next, join the Orbi network using your mobile device.
- Afterward, access your My Netgear Account using the accurate admin details.
- Further, tap on the Enable Camera and Scan option and scan the QR code printed on the orbi ax4200 system.
- Next, unplug the modem and router and click on I have unplugged everything.
- Now, join the ethernet cable to the modem and router and then click on Ethernet is connected on the app screen.
Setting up local WiFi Connection
- Afterward, follow the further guidelines until the “Connect your device to WiFi” dashboard appears.
- Also, take note of your router’s default SSID and password for further Netgear Orbi Ax4200 setup.
- Hereon, click on Copy Password and click on Choose your Network.
- Now, a list of the local networks presents to you, so choose the Orbi router’s network name that you have shown previously.
- Again, go back to the app’s main menu by clicking on the Back icon.
- Here, tap on the “Let’s personalize your network settings” page that appears to you.
- Further, click on Next, and the Create WiFi Network screen displays to you.
- Now, generate a personalized network name (SSID) and password here and tap on Next.
- After that, the “Set up Administrator Login” page appears to you, hence create an admin password for your device.
- On the next page, set up two security questions and check the progress bar is shown to you.
- Further, tap on Save to implement the modified settings and then tap on Plugin your satellites options.
- Here, go ahead with the on-screen instructions to set up the satellites.
- Afterward, go back to the Home screen and configure additional settings by heading with the guidelines shown to you.
- At last, Netgear orbi wifi 6 mesh ax4200 configures efficiently.
Setting up the Netgear Ax4200 router via the web portal
- To initiate the setup process, connect your laptop/computer to the Orbi network.
- Now, link the modem and router using the yellow ethernet cable provided in the package.
- After that, wait for some time until the modem turns on and the LED on the Orbi router turns solid white.
- Further, open the web browser and enter 192.168.1.1 IP or orbilogin.net web address in the browser bar.
- Hereon, type the correct user details on the login window that prompts you.
- After logging in, the Setup Orbi page presents to you.
- Now, position all the Orbi satellites within range of the master router.
- Next, plug the satellites into a nearby electrical outlet and turn them on.
- After that, the Orbi master router searches for the available satellite connection, so wait patiently.
- When the primary gateway detects the satellites, click on NEXT.
Netgear Orbi Ax4200 setup with new credentials
- Hereon, the “Admin Account Settings” page appears to you, so generate a unique password for your device.
- Further, pick two security questions and answer them.
- Now, the “Setup your WiFi” page is shown to you, so create a personalized network name and password on this screen.
- Again, the next page displays to you, named “Personalize Your Orbi Router.”
- Here, reconnect to the network using the network name and password you recently created.
- After connecting to the Orbi network, tap on “I am connected to it.”
- Now, the “Configuration Complete” screen presents you after finishing up the setup process.
- If the firmware update option prompts, then tap on “Update all” otherwise click on SKIP.
- Finally, follow the on-screen instructions to configure further settings.
Overall, hope you find this brief post useful in carrying out the Netgear Orbi Ax4200 setup process. If you have more queries, continue with our further blogs!